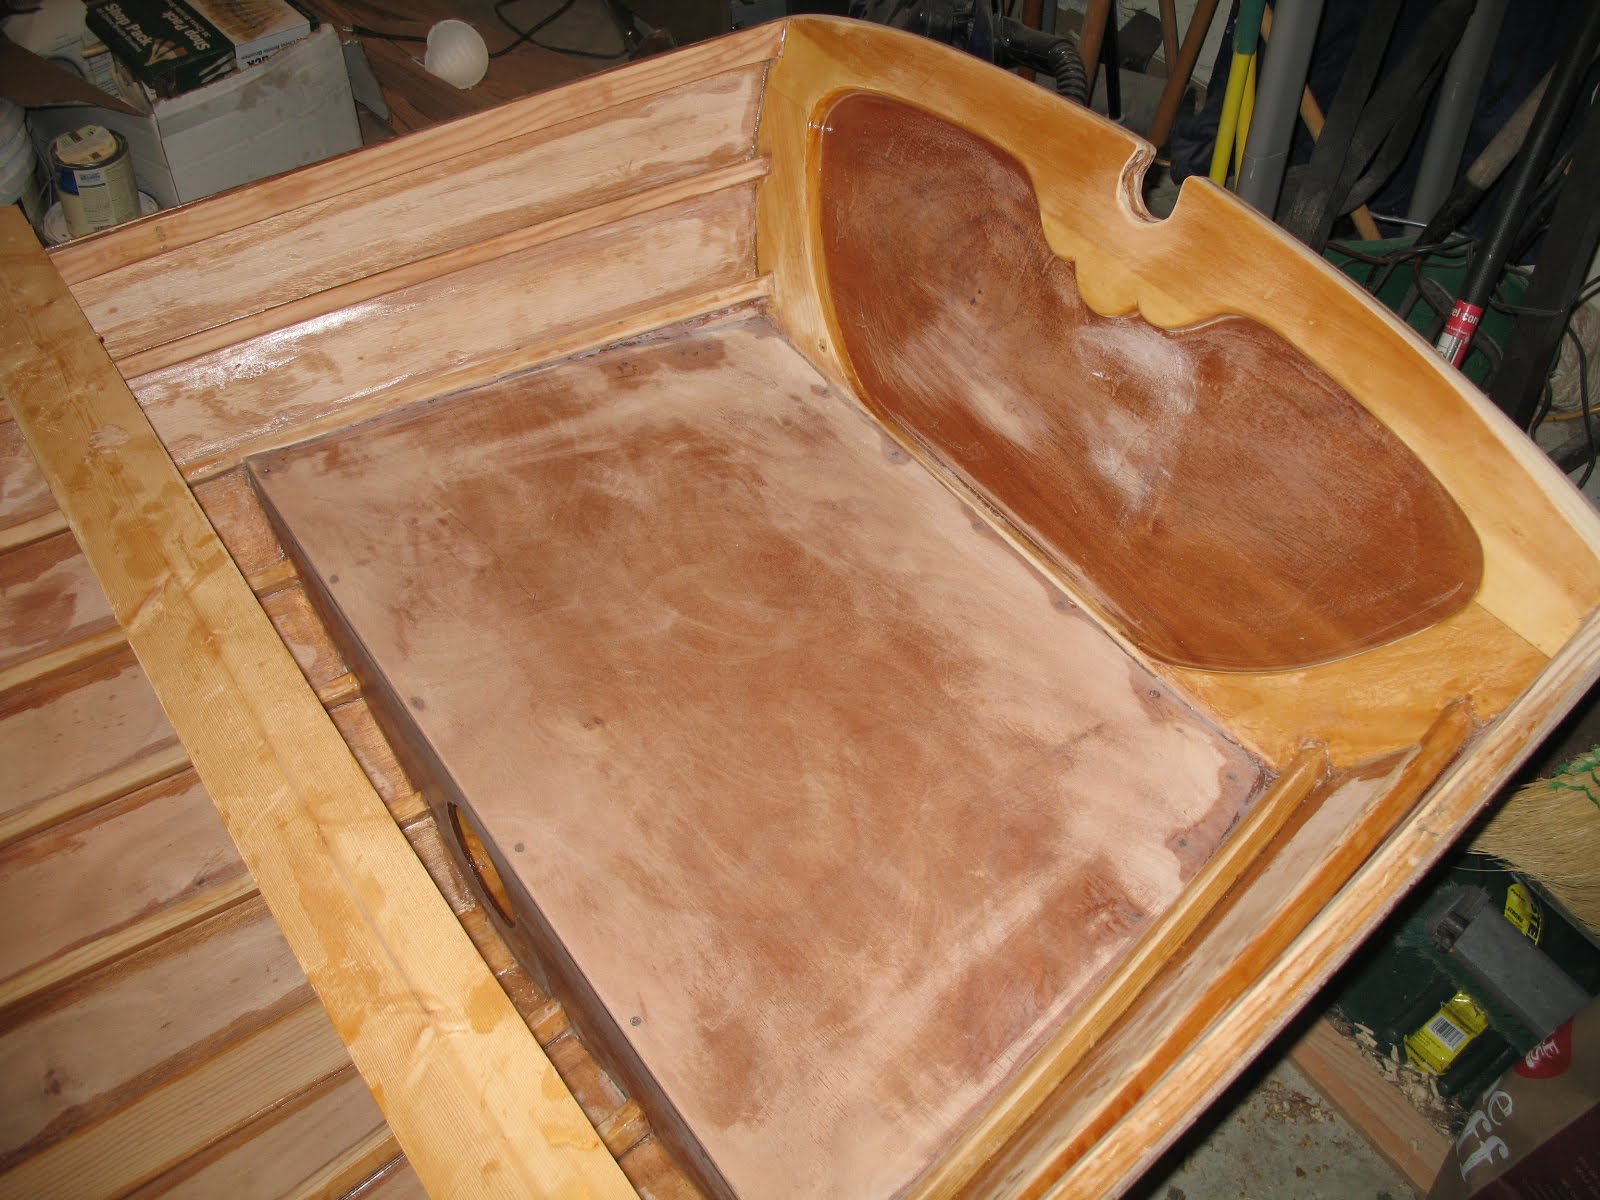
I have spent the past few weeks building the centerboard for my Penobscot 14. Sailboats must either have a centerboard, or a dagger board (like a centerboard only not permanently encased in the boat), or, as is common in large sailboats, a deep keel. These structures provide the needed counter resistance against the water as the wind hits the sail. Pressure from wind and counter pressure from water against the boat and the under water centerboard provides the forces needed to propel the boat forward. This is a simplified explanation...the physics of sailing are more complex and interesting than that. Anyway..back to MY centerboard. First there is the board, which I made by edge glueing two 3/4" thick 40" long pieces of red oak. Oak is a good choice for centerboards and rudders....nice and strong when under pressure from water. The pattern for the board, rudder like in shape was laid out, the board then cut out and the board then shaped to a a taper on both sides so that the shape of the surfaces was convex. I then applied epoxy glue with fiberglass to the board, cut out a 3/4" hole for the handle and a 3/8" hole for the pivot bolt. This pivot bolt hole was reinforced with a section of copper tubing. The board looked good.
Now the case for it. This was a complex structure to build that required forethought as certain things needed to be done in correct order, such as preparing the inner surfaces of the plywood forming the sides before putting the case together. Once the case is put together you can't get to these inside surfaces to apply protective and waterproofing epoxy glue. The bottom of the case has two 3/4" x 3/4" strips of wood that are attached at the base of the case to provide structure to attach the case to the keel. Before permanently ataching these, I drilled the holes that would be needed to screw the case into the keel. Had I tried drilling these holes after putting the whole case together I would have not ben able to drill these holes straight up and down a the sides of the case would have been in the way of the drill. The bottom of the case must also be shaped to account for the curve of the keel and the case must fit accurately over the centerboard slot in the keel. When the centerboard is functioning it comes down through the slot just adjacent to the port side of the deadwood at the bottom of the boat. After much measuring and fussing I got it all together. Fore thought in boat building is essential...if you don't anticipate potential problems in construction you will inevitably have unwanted moments and stress. I learned this early on in the construction of this boat with early mistakes that caused me much waste in time and material as I had to re-do steps.The case fit beautifully on the keel, covering the slot exactly as it should. I tried a dry fit with the centerboard bolted into the case and found that I had not made the board thin enough to allow free swinging motion through the case and slot. So out came the sander and off came most of that beautiful fiberglass and epoxy coating. I finally got the board thin enough and a 2nd dry fit test run demonstrated good movement of the board through the case and keel opening. I will have to re-coat and re-glass the board to protect it from the water. The case is now ready to be glued and screwed into place. I may start that tomorrow but I plan on being very cautious with that process as a perfect installation is need to prevent leaking. According to Arch, the secret is to use lots of epoxy glue in addition to the screws to get a water tight fit. I will! After the case is installed I'll pt the center thwart in, as it sits on top of the back of the centerboard case and two risers installed in the hull. Then on to the side seats, front thwart and the final touches tot he sheer, with application of the outer sheer clamps and then putting trim on top of the sheer clamps with ash wood. Getting closer to launch day. Haven't decided on paint colors for the outside yet but inside of boat will be kept bright, meaning varnished to show the beauty of the natural wood.
Monday, July 12, 2010
Friday, June 4, 2010
Thursday, June 3, 2010
Moving along on the build
I think I became too technical in previous posts on the build. So I will move along a little more quickly and focus on how i solved problems in building my first wooden boat. I planking the boat I found that making the gains went easier if you used a drmeml tool equipped with a smalll circular cutter to make the initial kerf cut to start the gain. Arch suggests using a saw to make this cut but I found this cumbersome and inaccurate so I used the dremel tool to make a nice controlled cut. I then used chisel and rabbett plane to form the gain which would allow for the plank above to blend in with the one below as it approachd the stem.I had good success making these gains which were 16 inches long. I love the way the planks at the bow blend into a coniuous flat the merges with the stem.
Thursday, April 29, 2010
The garboard planks were both glued and screwed to the keel and lowest stringer. You use System 3 epoxy that comes in a kit. The epoxy glue is mixed 1 part resin to 1 part hardener. I used the medium#2 resin, designed for moderate climates as we have here in Virginia. The glue is mixed with silica particles to thicken it to a consistency of oatmeal and then applied to the stringer. The stringer and plank edges are 'wet down' with expoxy before the glue is thickened. There is a working time of anywhere from 40 minutes to an hour before the glue hardens to a point that you cannot freely apply it. Watch out!...it gets hot as the chemical reaction between the resin and hardener releases energy. 3/" #8 flathead stainless steel screws were used and counerset into the plank to a depth of about 2 mm....be careful not to drill the counterset to deep or the screw head will go right through the plank when you do the final installation with glue. Then you have the awful job of scraping off the 'squeeze out' which is the excess glue that emerges from the joined surfaces. You have to get under the boat to get this off and you must get it all off or a white streak will show up later on your planking. I used acetone soaked rags to wipe down the plank afterwards so that all traces of excess glue were gone. Two days later the glue was cured and I mean CURED. It is so strong that you can't break the bond before the wood just cracks or breaks. The screws probably aren't even necessary. I forgot to mention that the screws joining the first plan to the stringer are removed after 24 hours as you will be overlapping the next plank on top of the upper 3/4" of the garboard and don't want underlying screws to be in the way of the new screws thgat will go through the next row of planking, the top edge of the garboard and into the first stringer. This overlapping of planks gives you the so called 'lapstrake' appearance that distinguishes this boat and gives it its nice lines and curves.. It also allows for the round bottom of the boat as the planks change direction towards the vertical as you continue the build. The top edges of the garboards were planed down to be even with the edge of the stringer.
The second row of planks were then added. This time the planking was started towards the bow so that the scarf joints alternated . the second row of planking was shaped by putting an excessively wide piece of planking on the top edge of the garboard and overlapping the next stringer. This would be a dry fitting so that you could trace the shape of the plank by going under the boat and making lines on the new plank using the tops of the lowest stringer and next stringer. You then take the plank off and add 3/4" to the line you drew for the bottom of the plank. You also have to cut the gain in the fron of the boat so that the second row of planking blends into the stem and is even with the garboard at the stem. Arch describes how to measure and cut these gains. I found a dremel rotary tool fitted with a metal cuttin wheel to be invaluable in cutting into the edge of the gain...much easier than using a hand saw to make this cut which involes the front 16 inches of the garboard top edge. You then chisel out the gain and also use a rabbet plane to make your gain. The bottom of the plank you are about to install also needs to be cut along the lines previously drawn, except where the gain is. That part is tricky. I screwed the plank back on the boat and gradually planed down the edge of the plank that is to fit into the gain. I found this the easiest way to be accurate as I would just plane off a little at a time until I could just fit the new plank into the gain. It is quite nice to see the front of the next row of planking blend into the stem, even with the planks adjacent to it.
Friday, April 23, 2010
Subscribe to:
Posts (Atom)